- English
- Español
- Português
- русский
- Français
- 日本語
- Deutsch
- tiếng Việt
- Italiano
- Nederlands
- ภาษาไทย
- Polski
- 한국어
- Svenska
- magyar
- Malay
- বাংলা ভাষার
- Dansk
- Suomi
- हिन्दी
- Pilipino
- Türkçe
- Gaeilge
- العربية
- Indonesia
- Norsk
- تمل
- český
- ελληνικά
- український
- Javanese
- فارسی
- தமிழ்
- తెలుగు
- नेपाली
- Burmese
- български
- ລາວ
- Latine
- Қазақша
- Euskal
- Azərbaycan
- Slovenský jazyk
- Македонски
- Lietuvos
- Eesti Keel
- Română
- Slovenski
- मराठी
- Srpski језик

How to use a bandage after a fracture to make casting easier
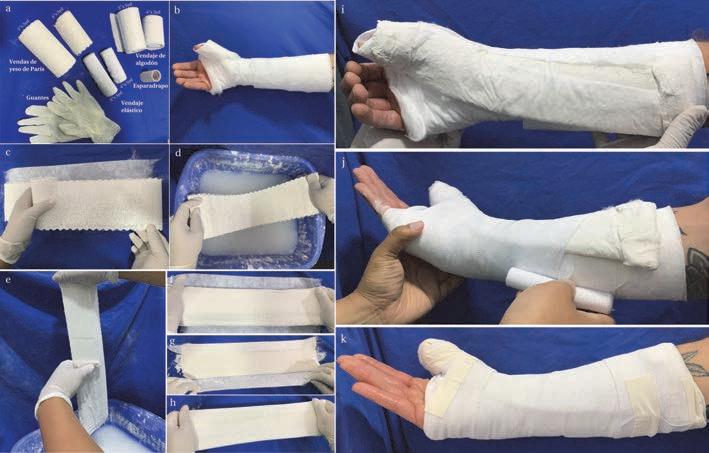
1. When applying, generally wrap from top to bottom. Roll the plaster of paris bandage along the limb so that the lower layer covers about one-third of the upper layer, and make sure to keep the plaster of paris bandage smooth.
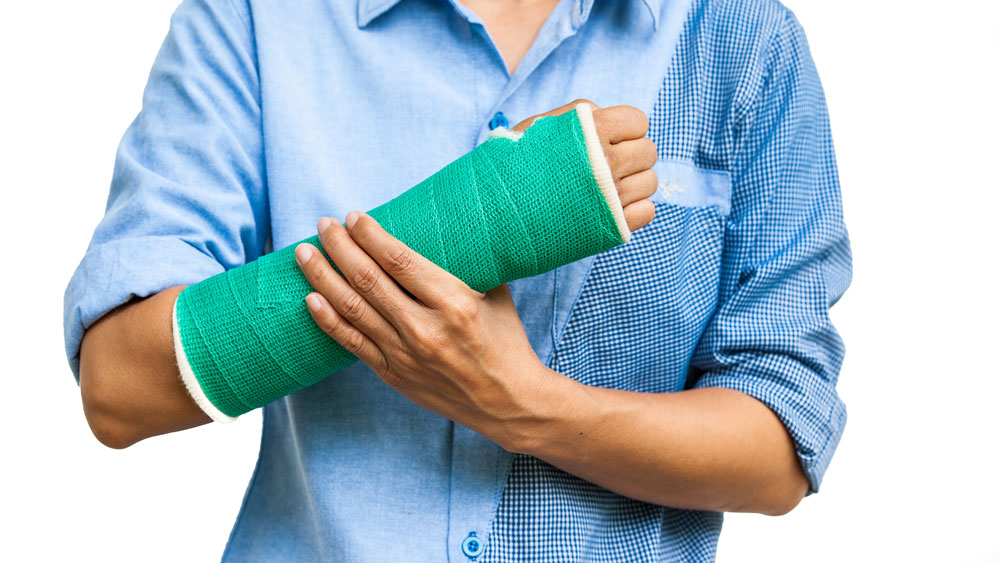
2. When dealing with curves of the trunk or limbs where thickness varies, if you need to move the plaster of paris bandage up or down, lift the loose part of the bandage and fold it back so it fits snugly against the body. Don’t try to flip the plaster of paris bandageto remove slack, because that can cause wrinkles in the inner layer of the plaster of paris bandage and press on the skin.
3. Work quickly, smoothly, and accurately. Your hands should work together—wrap with one hand while smoothing in the opposite direction with the other. Make sure each layer of plaster fits tightly without gaps.
4. The top and bottom edges and joints should be slightly thickened to strengthen the fixation.
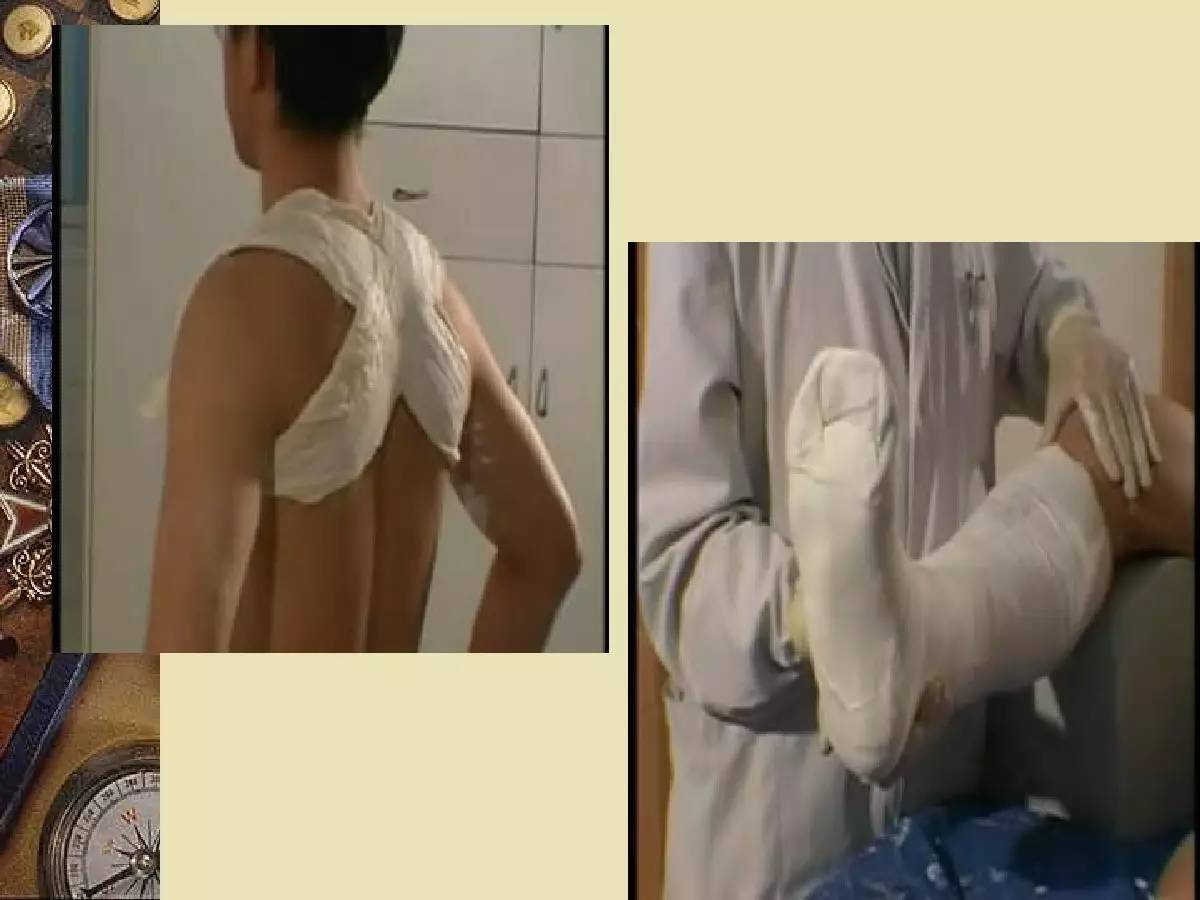
5. The overall thickness of the plaster of paris bandage should be enough to prevent cracking, generally about 8–12 layers.
6. Before the plaster dries, don’t move the affected limb, otherwise it may crack and lose its support. Moving it can also create inward folds on the bend side of the joint, which may not be noticeable externally but can press on the skin and even affect circulation. When helping to support the plaster of paris bandage, the assistant should use only their palm, not fingers, as gripping with fingers can also create inward pressure on the limb.